
 about cooking
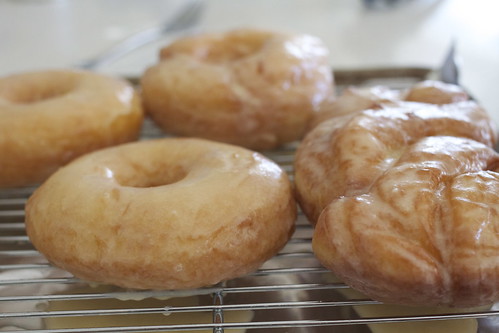
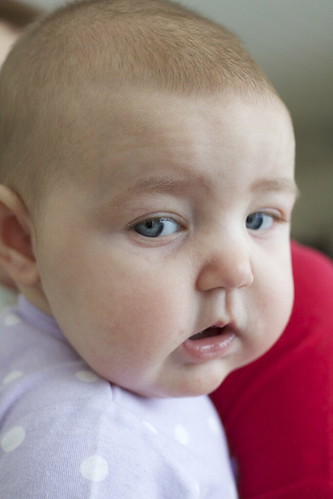
The best thing happened the other day. My sister moved back to Colorado! Patrick, her fiance, got a job 3 hours west of us and I couldn't be happier. This means I get to kiss my new nieces cheeks, like, 3-4 more times a year than I would have. And that's saying something. Look at those suckers. Girl is not messing around.

No really, get a good look...
My sister and that cheeky baby stayed with me for a few days while Pat drove the U-Haul down from Seattle and unpacked it. I thought it might be lovely to partake in some activity together, and making homemade donuts seemed like just the thing. Except for the fact that when it came time to actually make the donuts my sister didn't help at all.
She slept through the first part.
Then, she sat and watched with the baby for a bit
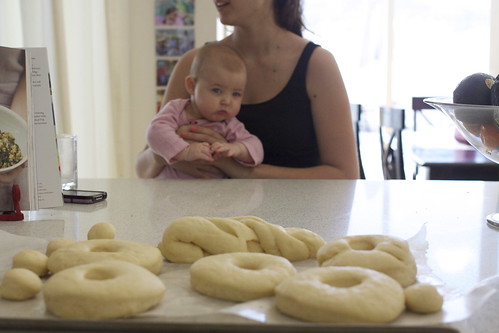
And then she would change it up and check her phone from time to time
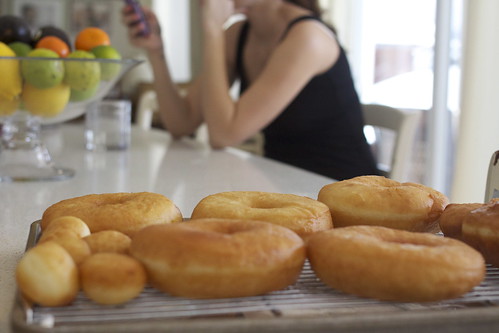
Cameras come in very handy for photographic evidence.
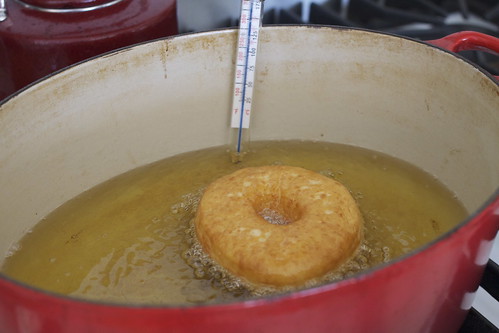
Okay, well she did help with one part - the frying - and If I'm being honest, it's the best part to help me with because I'm a huge wuss with such things. She was afraid too, though, so I didn't feel so bad. However there was no need for fear because it just gently sizzled when the dough hit the hot oil. No splashing. No jumping back necessary. No disfiguring oil scars on our faces like I had initially imagined. I ended up using a spider to place my donuts gently in the oil and to turn and get them out. I highly recommend.
Gentle frying, see?

Even when the oil got hotter, it wasn't bad
My sister dropping in the first donut hole:

I couldn't remember the significance of the bottom tattoo on her wrists, so I asked. She simply said "free bird" like that was supposed to clear everything up. I still didn't know exactly what they were supposed to represent, so I pressed further. All she said was "you know the song Free Bird, right?" like that was supposed to clear everything up. Kaylee does that a lot.
No, Kaylee, as a matter of fact, sometimes you'll need to expound on things. Sometimes you'll need to explain further. I'm not telepathic.
She's always been like this. As the other person, you have two choices. You can either keep asking questions until you can piece together enough information and are satisfied with her answer, or you can shrug your shoulders, walk away and say "oh yeah" and decide it's not worth it. I suggest the latter unless you really need to know because Kaylee dishes out the bare minimum. I can't explain this pheonomenoa, but I can explain donuts, and this is lucky since it's why you came.
There are three things you need to know about homemade yeast donuts:
1) They will take you a good half a day to make. Mine took five hours and this is a process that can't be rushed. I've made yeast donuts at home before and trust me, if the recipe says to let the dough rise and rest for 1 1/2 hours, then that's what it will take. Don't move on to the next step after 45 minutes just because the dough looks doubled in size already.
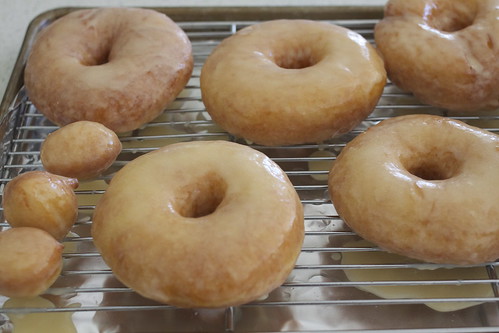
2) Don't expect homemade donuts to be or taste the same as your local donut shop. I was very satisfied with this recipe, namely because the donuts rose beautifully and puffed up nicely after frying. Also, they were not as heavy as other homemade donuts I've fried, however, they definitely will be much heavier than anything you can buy at a store. This is why they can charge money for such things, you see. I think donut people are magical gypsies for getting donuts so light and airy. Now let us talk about taste. Like I said, these don't exactly taste like your average twisted glaze. They do however taste an awful lot like Krispy Kreme's glaze donuts. I leave that to you to decide whether that is a good thing.
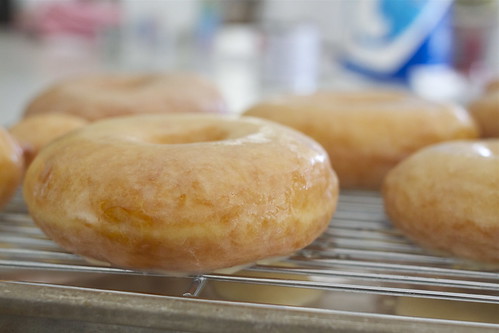
3) Only glaze these once! Meaning, coat them once with the glaze and let them dry on a rack. Do not be tempted, like I was, to keep applying glaze layer after layer. I did this. I admit it. It was not a good decision. One layer will cling and stick to the donut nicely and dry ever so slightly. Two, three, four coast later and the glaze won't set and will appear milky in color.
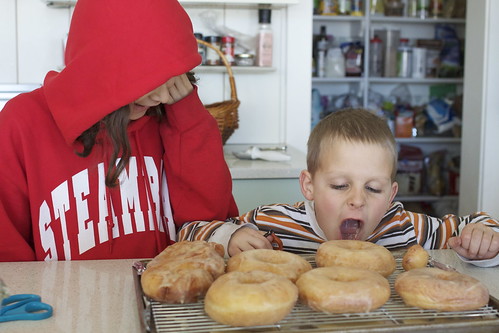
The kids were just a little excited when they got home. And we all gorged ourselves on donuts.
The end.
Vanilla-Glaze Yeast Donuts
adapted from Saveur Magazine, March 2013
makes 1 1/2 dozen donuts
2¼-oz. packages active dry yeast
½ cup sugar
1½ cups milk, scalded and cooled
1 tsp. kosher salt
2 eggs
6 tbsp. vegetable shortening, plus more for greasing
5 cups (1 lb. 6½ oz.) all-purpose flour, sifted, plus more for dusting
Canola oil, for frying
10 tbsp. unsalted butter
⅓ cup evaporated milk
2 ½ tsp. vanilla extract
2 ½ cups confectioners' sugar
INSTRUCTIONS
1. Combine yeast, 1 tbsp. sugar, and 6 tbsp. water heated to 115° in the bowl of a stand mixer fitted with a paddle attachment; (should feel warm to the touch if you don't want to use a thermometer) let sit until foamy, about 10 minutes. Add remaining sugar, plus milk, salt, eggs, and shortening; mix until combined. With the motor running, slowly add flour; beat until dough is smooth. Transfer to a lightly greased bowl and cover loosely with plastic wrap; set in a warm place until doubled in size, about 1½ hours. I set my bowl in a 200 degree pre-heated oven (before I covered with plastic wrap) and let the bowl sit for one or two minutes with the door cracked open, just to make sure my dough got warm for a head start. Then, I placed it on the counter and covered loosely at room temperature for the remainder of the time.2. Turn dough onto lightly floured surface; roll dough into a 13" round about ½" thick. Using floured 3½" and 1½" ring cutters, cut out donuts and holes; gather and reuse scraps. Place on greased parchment paper—lined baking sheets, at least 3" apart, and cover loosely with plastic wrap; set in a warm place until doubled in size, about 45 minutes. Don't skip the parchment paper step.
3. Heat 2" oil in a 6-qt. saucepan until a deep-fry thermometer reads 325°. Using scissors, cut the donuts out of the parchment paper, leaving about 1" of paper around the sides of each donut (the paper makes it easier to transfer them to frying oil - this is why we don't skip this step. The donuts deflate the more you handle them).
Parchment paper step:

Working in batches, place donuts in oil, paper side up, using tongs to peel off and discard paper. Cook, flipping once until puffed and golden, about 3–4 minutes. Test your donut holes first. They will also cook much faster than your donuts. Using a slotted spoon, transfer to a baking sheet with a wire rack; let cool completely. Do not glaze warm donuts. It will make them soggy.
4. Melt butter in a 1-qt. saucepan over medium-low heat. Using a small ladle, skim and discard white film from surface. Slowly pour liquid from pan into a bowl, leaving sediment behind; let cool 1 minute. Add evaporated milk, vanilla, ¼ cup water, and sugar; whisk until smooth. Dip donuts in glaze, coating completely; return to wire rack until glaze is set.
*To avoid oily donuts, remember: Fat attracts fat. The less you use in your dough, the lighter the donut will be after frying. Also go light on flour when rolling out dough, and use a brush to remove any excess; loose flour particles attract and absorb oil


Yum! These look delicious!
ReplyDelete2016-1-14 leilei
ReplyDeletelongchamp outlet
nike air max
michael kors outlet
oakley sunglasses
coach factory outlet
coach factory outlet online
canada goose uk
louis vuitton purses
cheap soccer jerseys
tiffany jewelry
ray ban wayfarer
ralph lauren
true religion
mcm handbags
cheap ugg boots
coach outlet
christian louboutin sale
true religion outlet
ugg boots outlet
nike sb janoski
jordan retro 8
coach factory outlet
nike trainers
nike air max 95
michael kors outlet
air jordan shoes
michael kors
ugg outlet
michael kors outlet
chaussure louboutin
nike air max 90
air jordan shoes
coach outlet
michael kors bags
louis vuitton outlet onlne
nike store
prada handbags
mont blanc pens
michael kors
michael kors handbags
nba jerseys
ReplyDeletebasketball shoes
christian louboutin shoes
michael kors outlet
fitflop sale
ugg boots
ugg boots paris
uggs for women
cheap nfl jerseys
ugg slippers
minnesota vikings jerseys
coach factory outlet
nhl jerseys
washington wizards jerseys
cheap air jordans
uggs pas cher
adidas nmd
ralph lauren uk
nike roshe one
gucci outlet
mbt shoes
coach outlet online
true religion outlet
adidas yeezy
coach factory outlet
moncler coats
coach outlet
burberry outlet online
oakley sunglasses
los angeles clippers jerseys
longchamp bags
michael kors outlet clearance
michael kors outlet
louis vuitton outlet
coach outlet store online clearances
ray ban sunglasses
michael kors outlet
chenlili20160823
免費女主播聊天室
ReplyDeleteQ臺妹-真人摳逼裸聊
國外免費開放裸聊室
免費進入裸聊室
免費夫妻視頻真人秀
免費進入主播裸聊室
裸聊直播間免費
免費同城交友裸聊室
免費進入裸聊直播間
美女主播免費祼聊聊天室